How to create VM templates for LLM workloads in Proxmox
Intro
This guide will walk you through the installation and basic setup of Proxmox VE. It guides you through the installation via USB drive and the basic setup of the system.
Installation via USB Drive
The easiest way to install Proxmox VE is by using a USB drive. You could either "etch" the image to the USB drive via a tool like dd (or balenaEtcher) to write the image to the USB drive or use Ventoy to create a bootable USB drive, where you can then select the Proxmox VE image to install.
Once you boot from the image, follow the instructions to install Proxmox VE.
Login via SSH or Console
After the successful installation, you can login via SSH or remain in the console. Make sure to use root as the username and the password you set during the installation.
The first thing you want to do is to install a helper tool to manage proxmox from the command line. This is called ProxMenux. You can find the installation guide here: ProxMenux Installation.
Once installed, you want to do some basic housekeeping to ensure the system is secure and ready to use.
Start proxmenux by running:
menuThis will open the menu. Select "1".
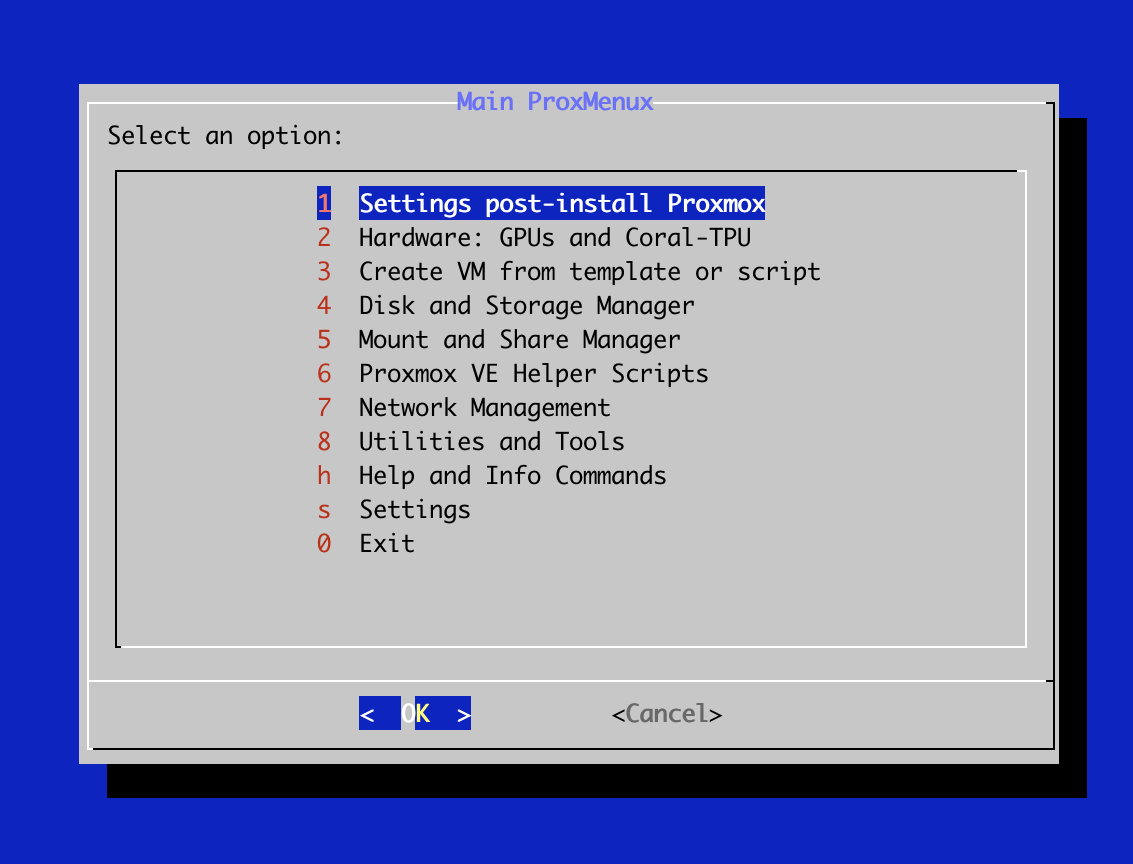
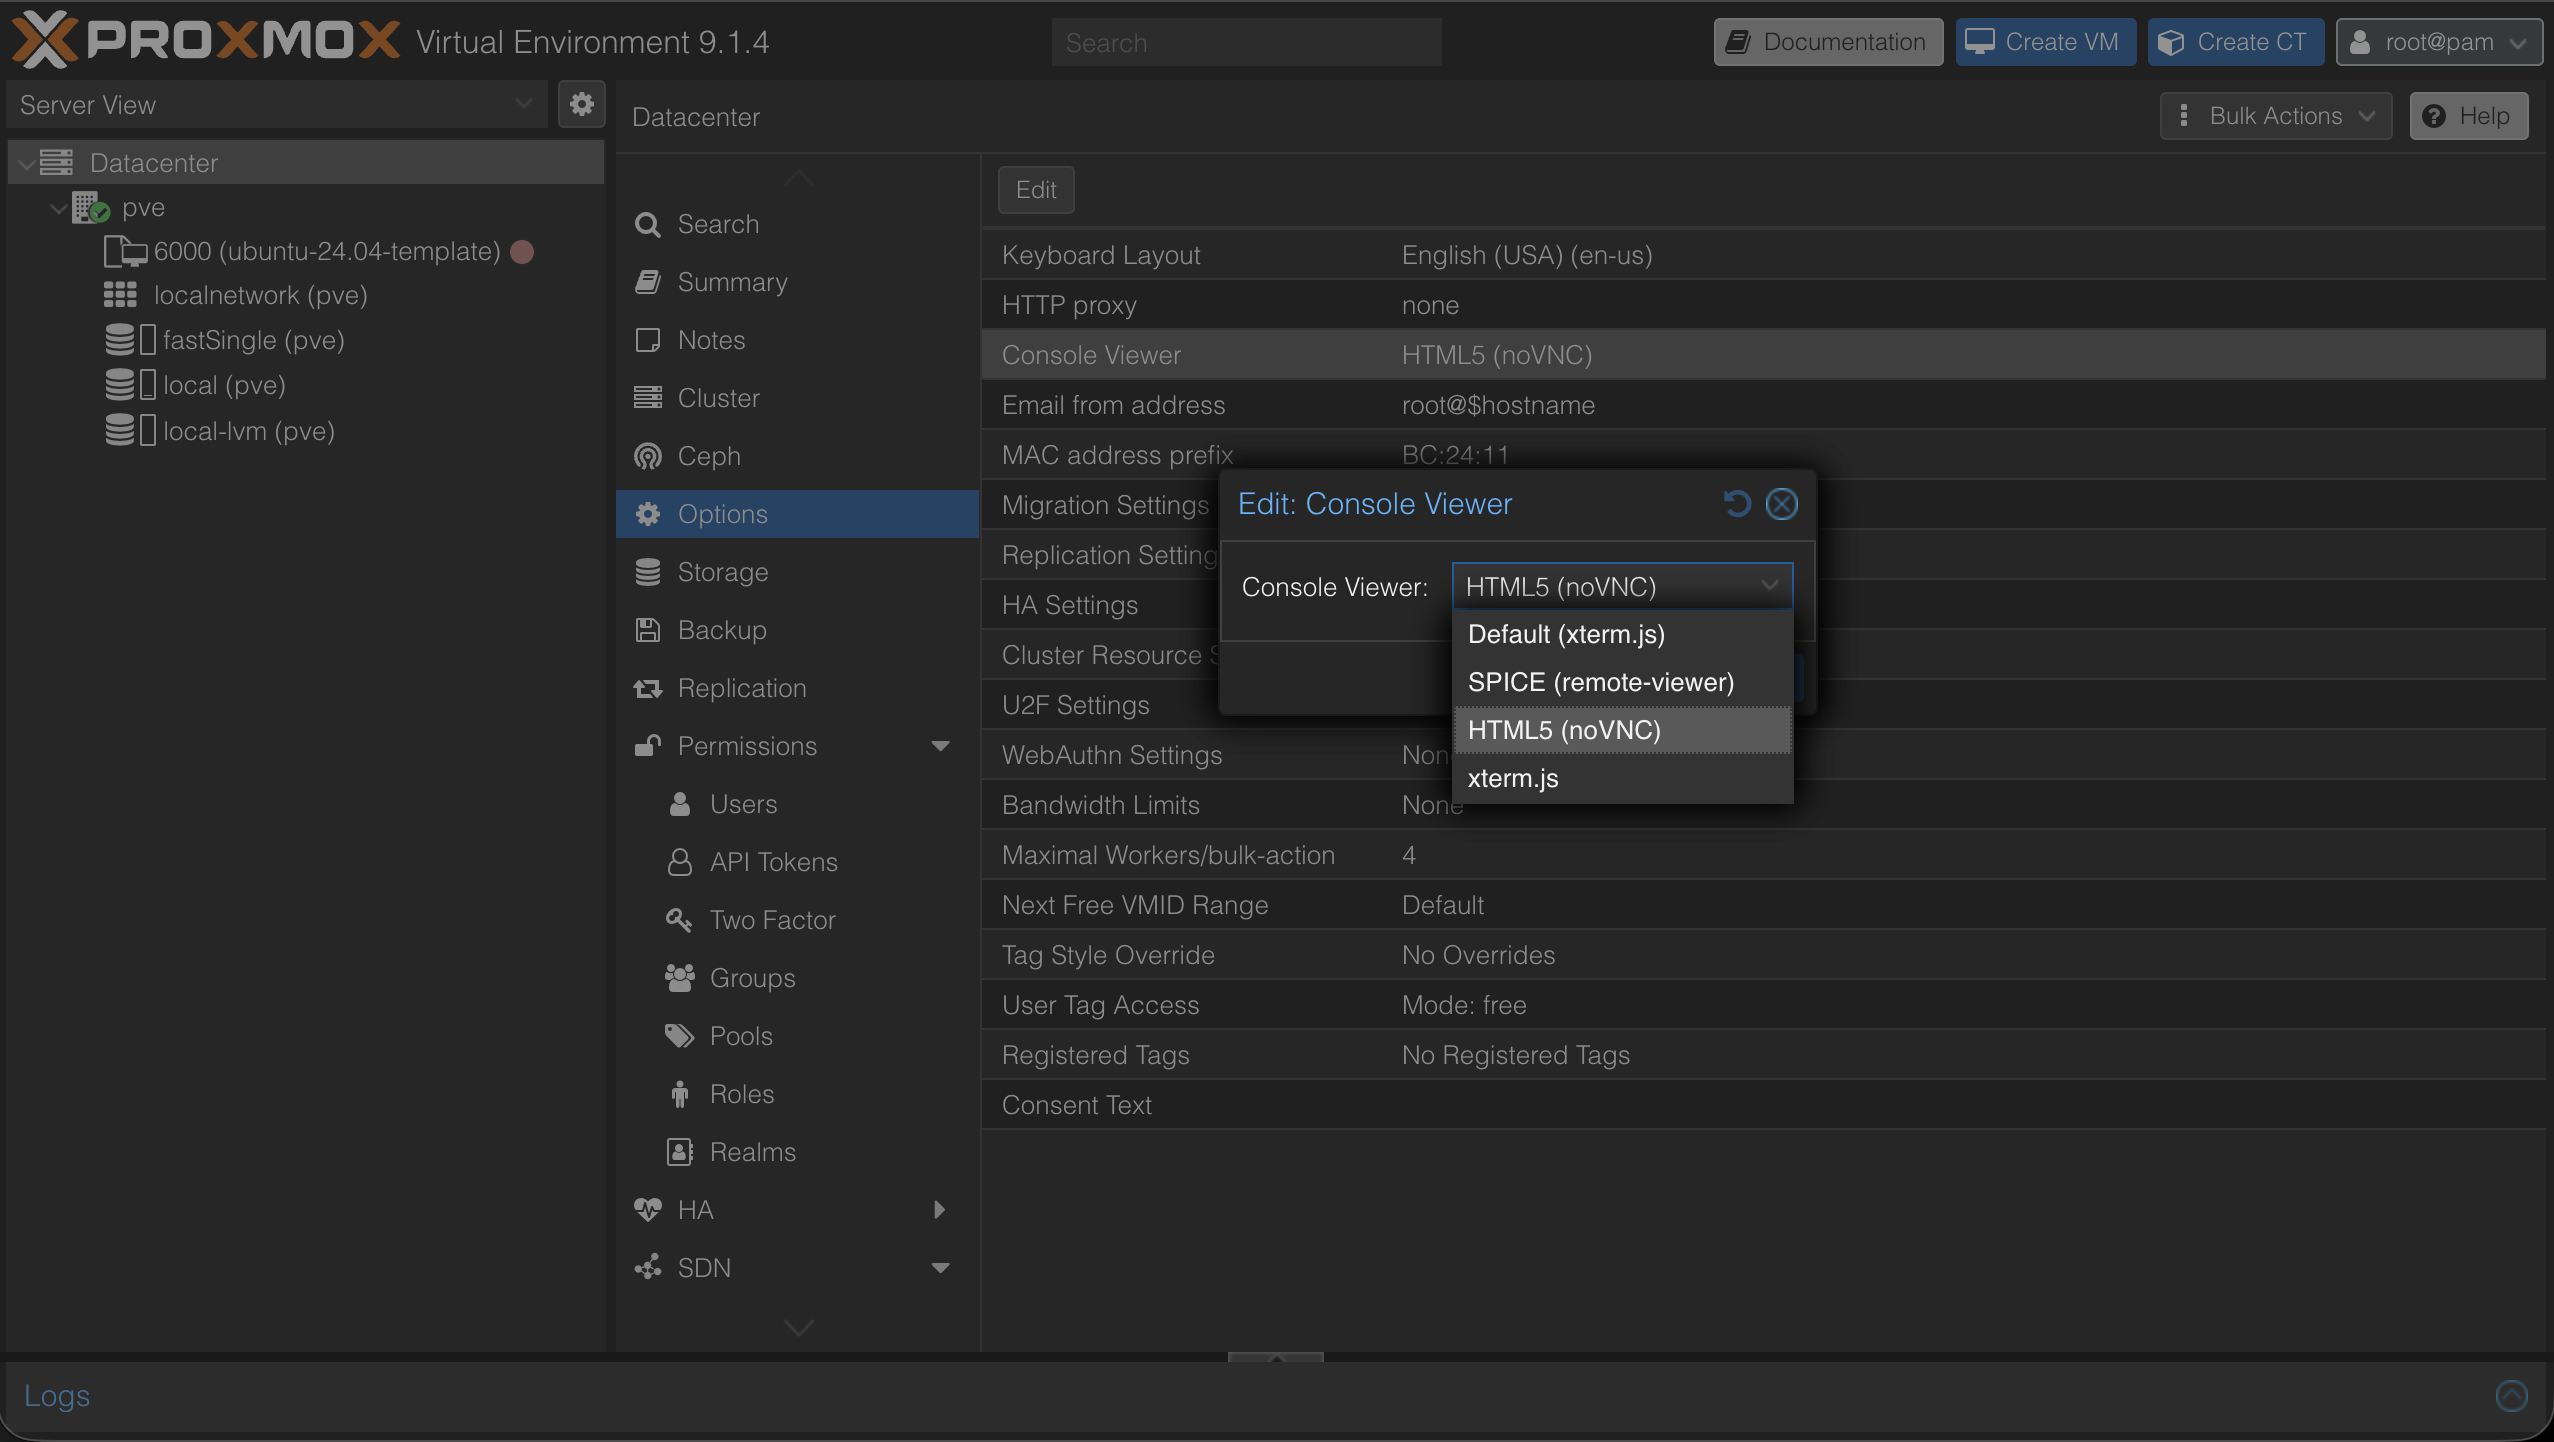
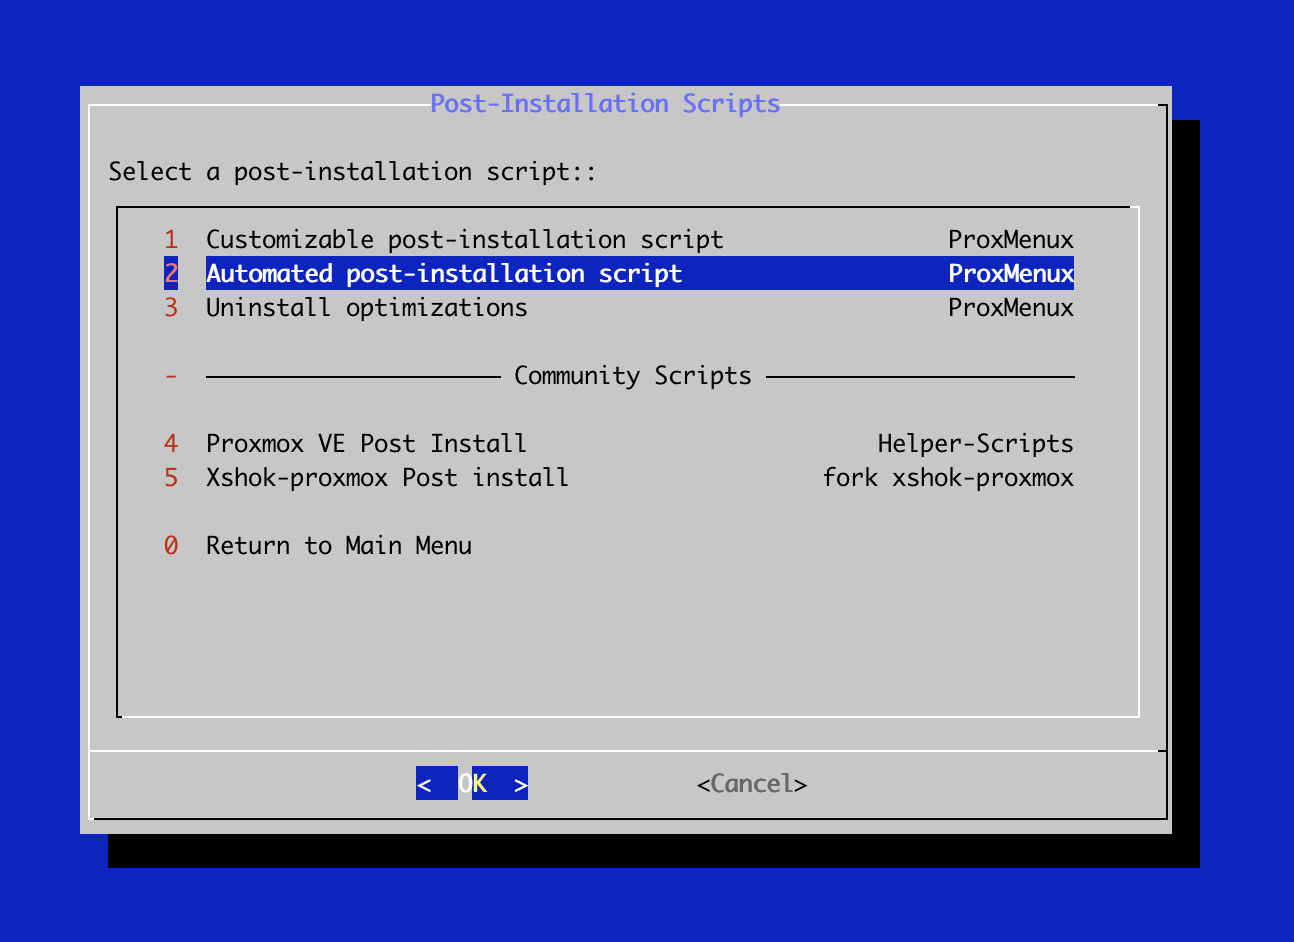
This will open a menu with various post installation options. Select "2" for the easiest setup. Explore the other options to your liking, as they offer various security and performance optimizations.
As a last step, you might want to disable the root login via SSH and password authentication. This is not necessary, but it is a good practice to secure your system further.
ssh-copy-id root@<proxmox-ip-address>This will copy the SSH key to the proxmox server and you will be able to login via SSH without using the password. Test this by running:
ssh root@<proxmox-ip-address>Once this was successful, you can disable the root login via password authentication.
nano /etc/ssh/sshd_configChange the following lines:
PasswordAuthentication noFirst Login on the Proxmox VE Web Interface
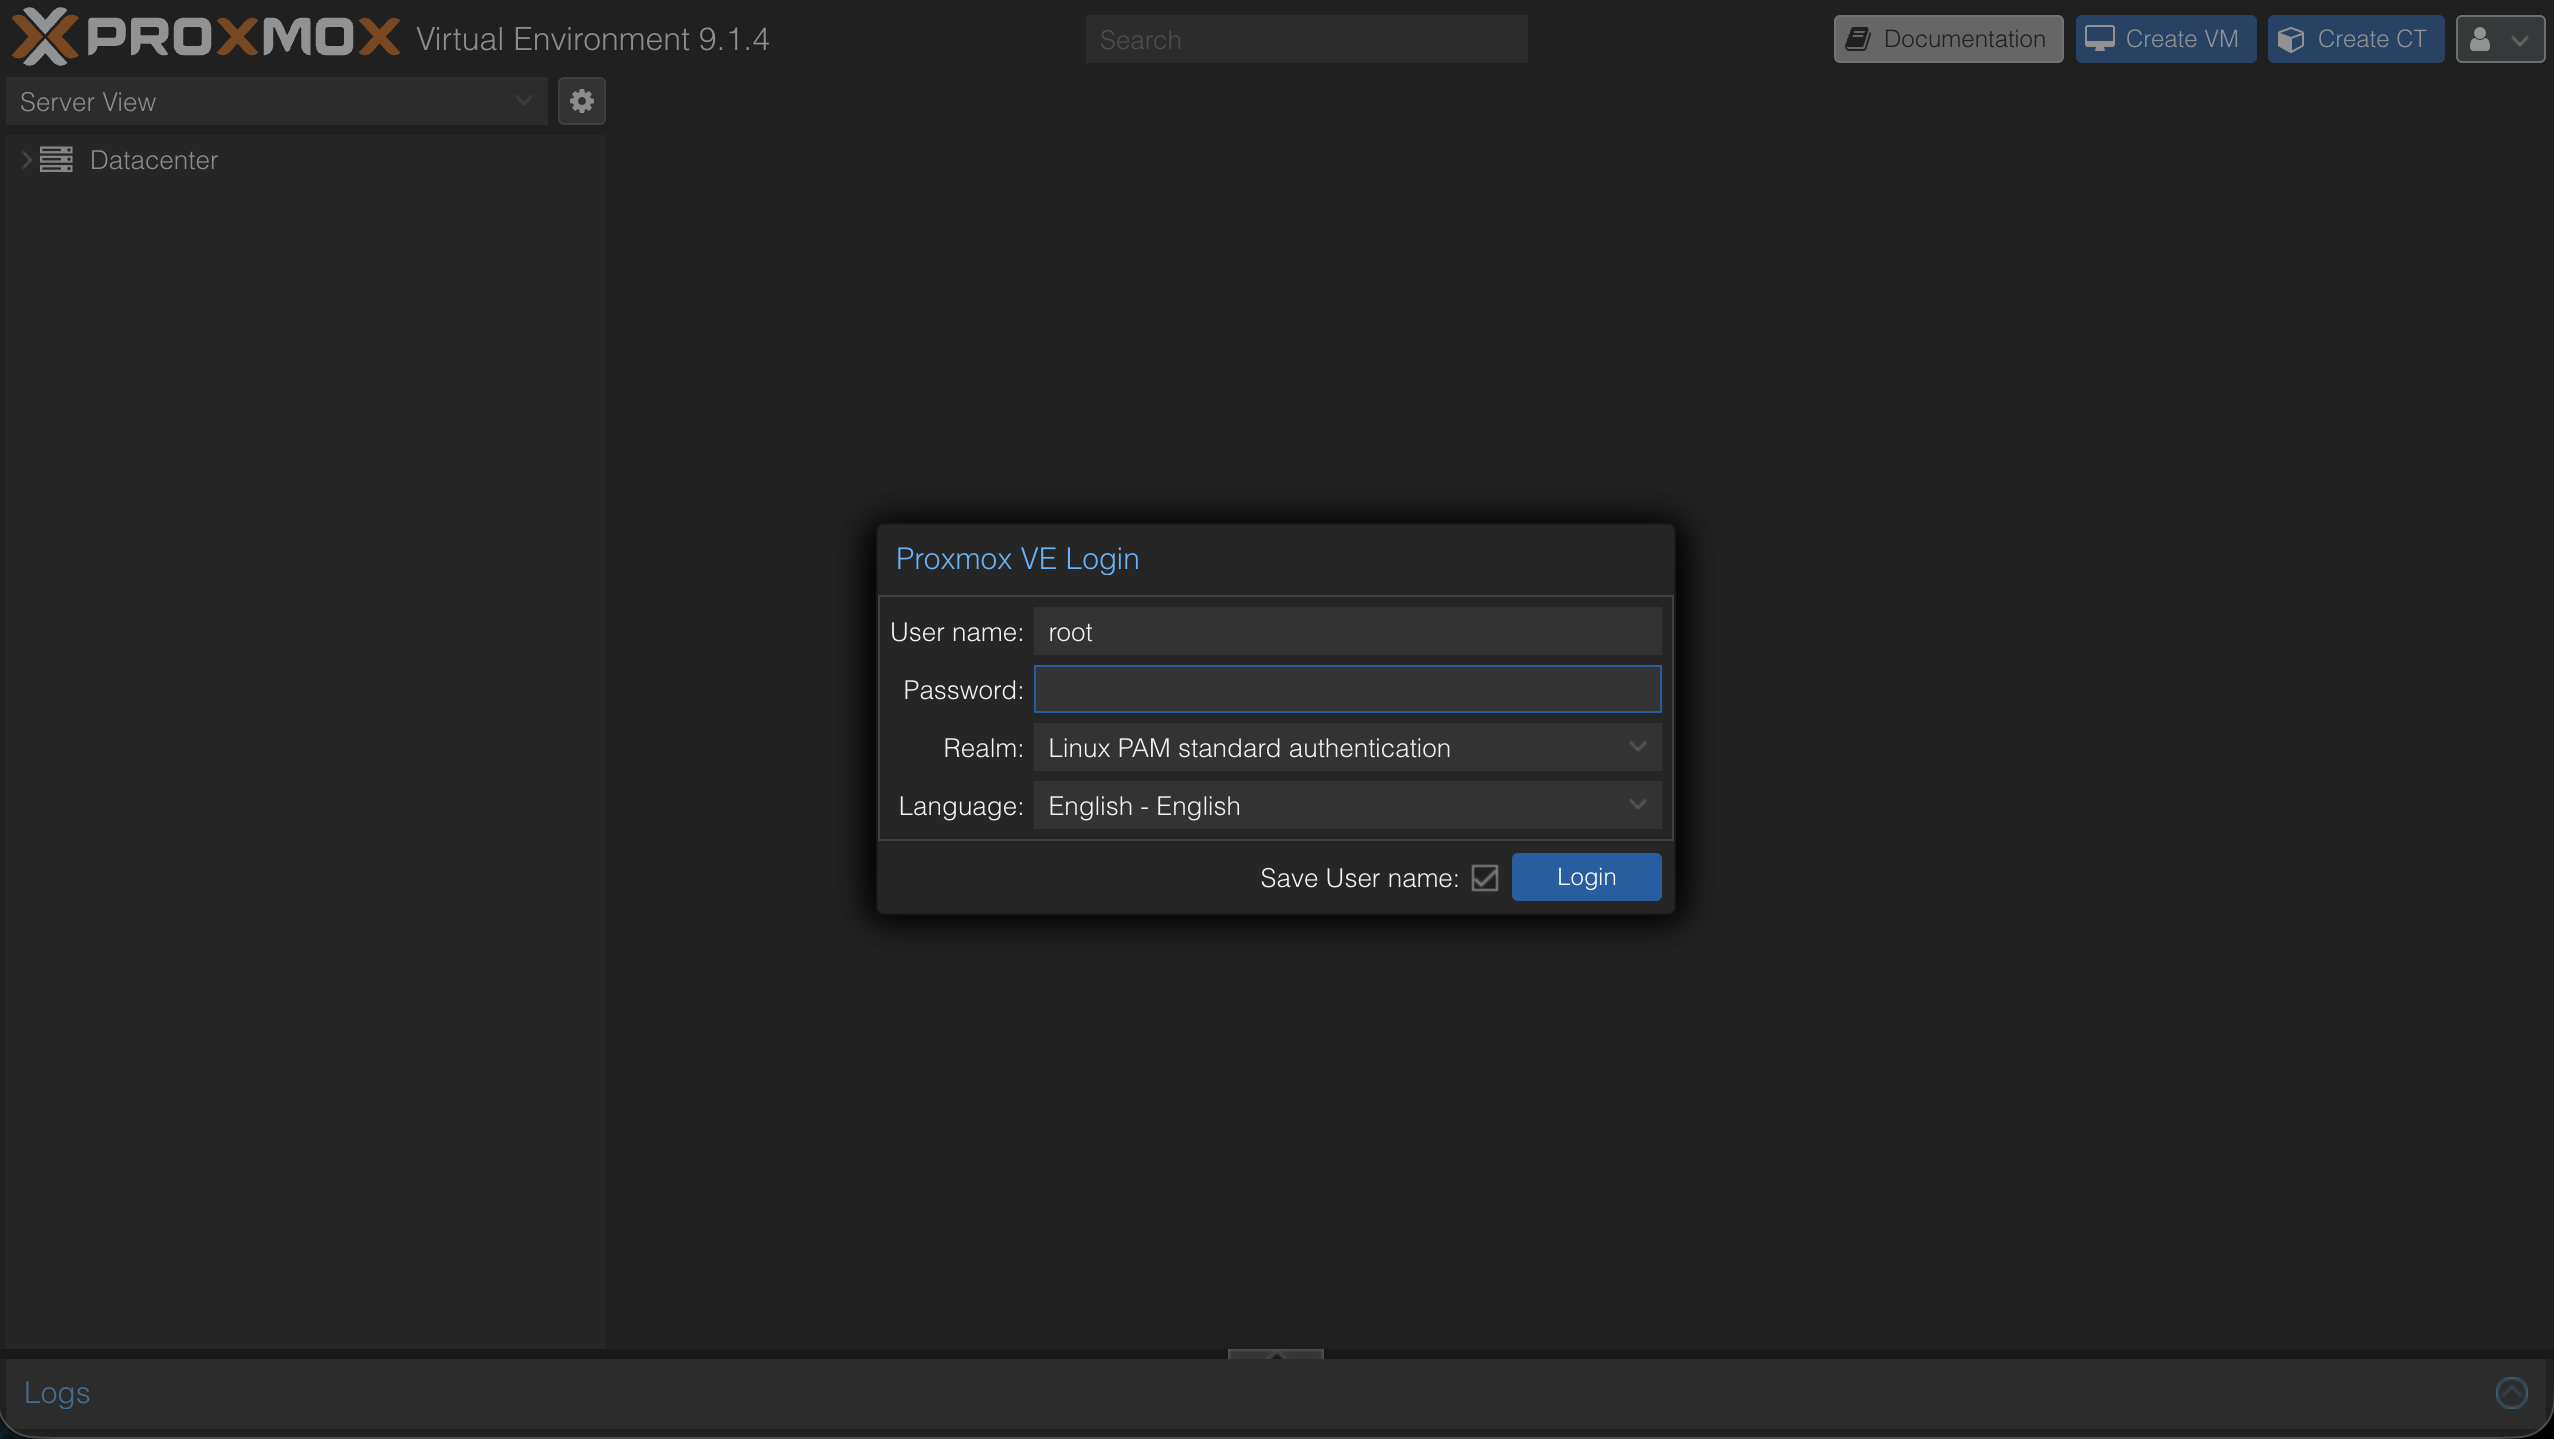
Got to the web interface and login with the credentials you set during the installation (username root).
Login URL: https://your-ip-address:8006
Username: root
Password: your_password
Realm: Linux PAM standard authentication
Setup VLAN aware
This step is optional, but it is recommended to setup VLAN aware for the network in order to have real VLAN isolation on the bridge.
Go to the network settings under "Datacenter > 'node-name' >> System > Network" and click on the bridge you want to setup VLAN aware for. Usually this is called "vmbr0".
Set the VLAN aware to "Yes" and save the settings.

Depending on your local network setup and needs, you might want to create more bridges and setup VLAN aware for them as well. These interfaces can then be assigned to specific VMs.